Hi guys!!!!
I have an awesome newer blogger guest posting for us today!! Let’s get to know Krystal from Queen of Nails 83 a bit better shall we??
********************************************
Hey y’all, I’m so excited to be here with you today. My name is Krystal from Queen of Nails 83; my blog which I started in June of this year as an outlet for my passion of nail polish, indie mainstream and the alike.
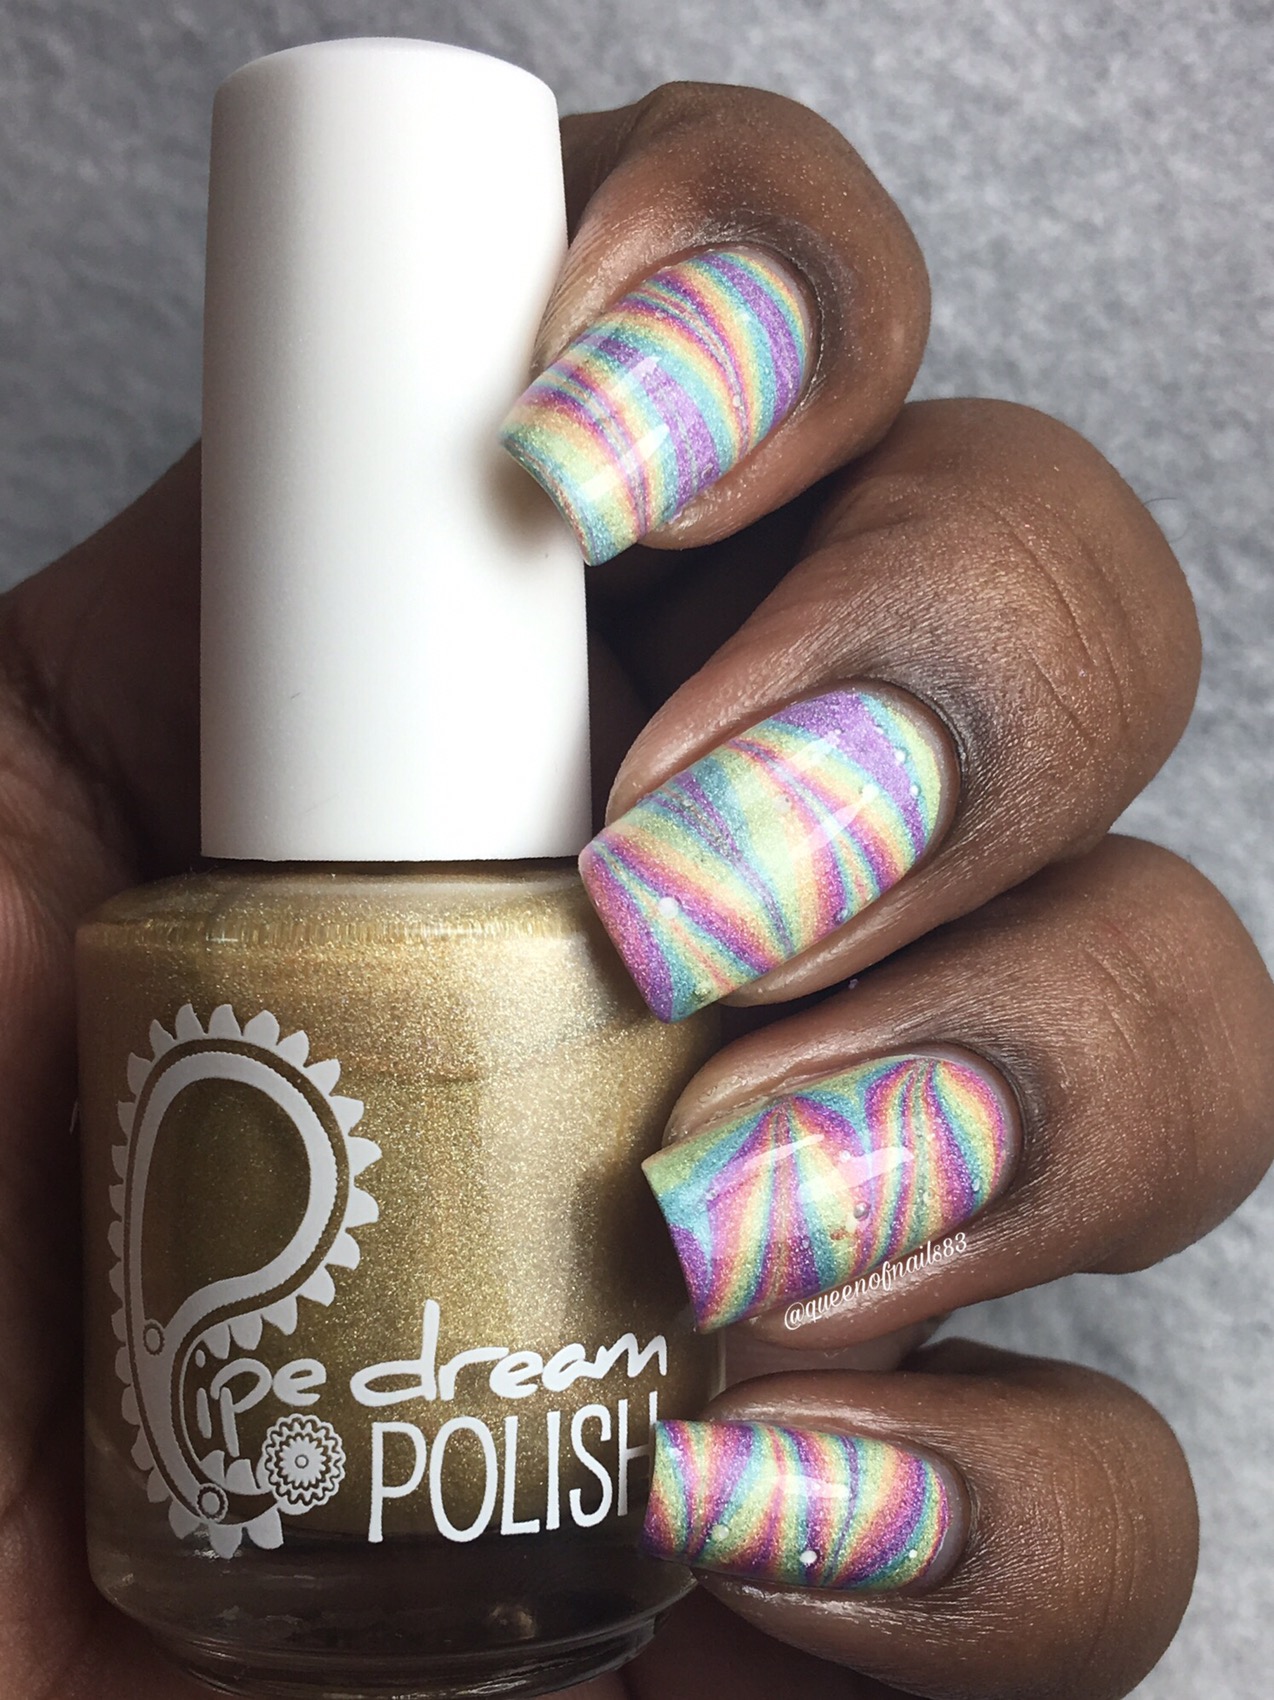
Collaborating is a first for me and I appreciate the opportunity Monica has afforded me to stop by, say hello and share with you a recent watermarble I did using the entire Sugar Collection from Pipe Dream Polish.
Pipe Dream Polish is a favorite brand of mine because not only are the collections/polishes unique and beautiful but they make watermarbling fun and easy.
Let’s get started…
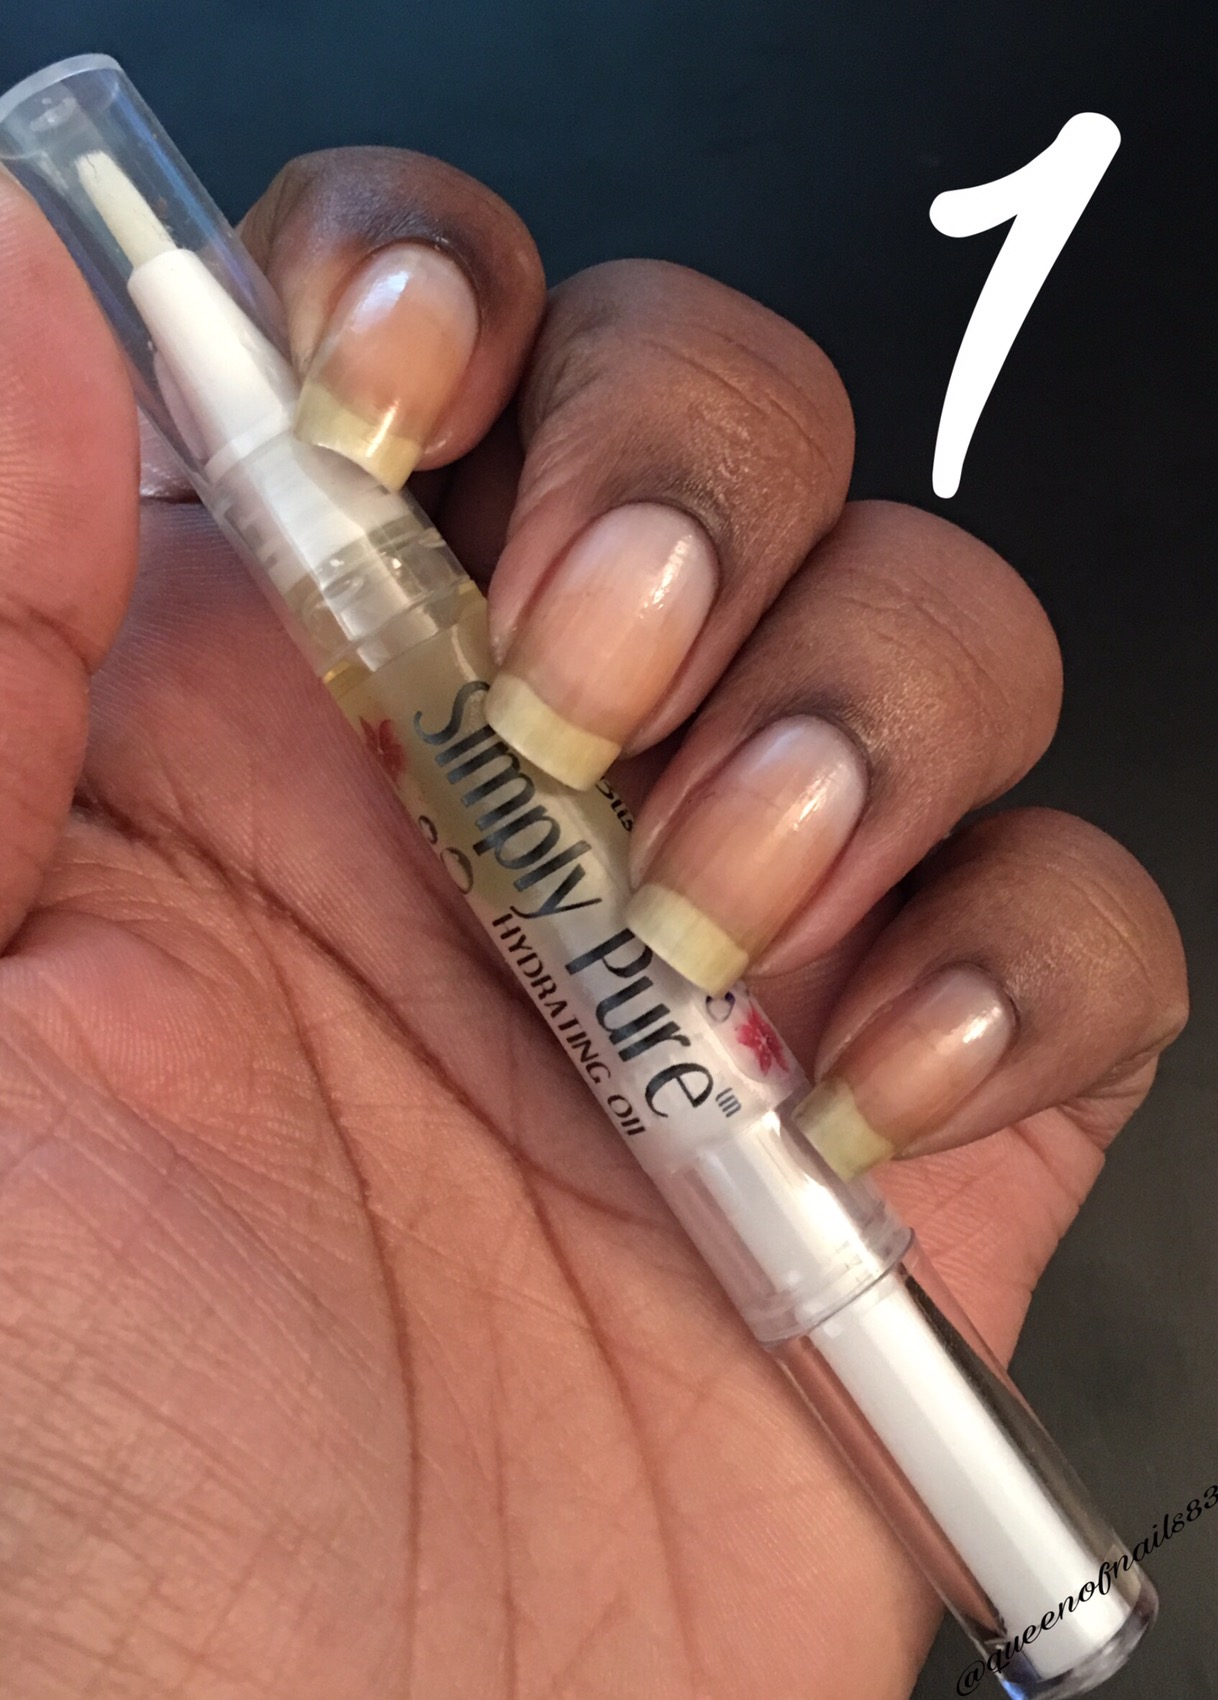
First, I started with freshly manicure nails. This is part of my biweekly routine that keeps my nails healthy and strong.
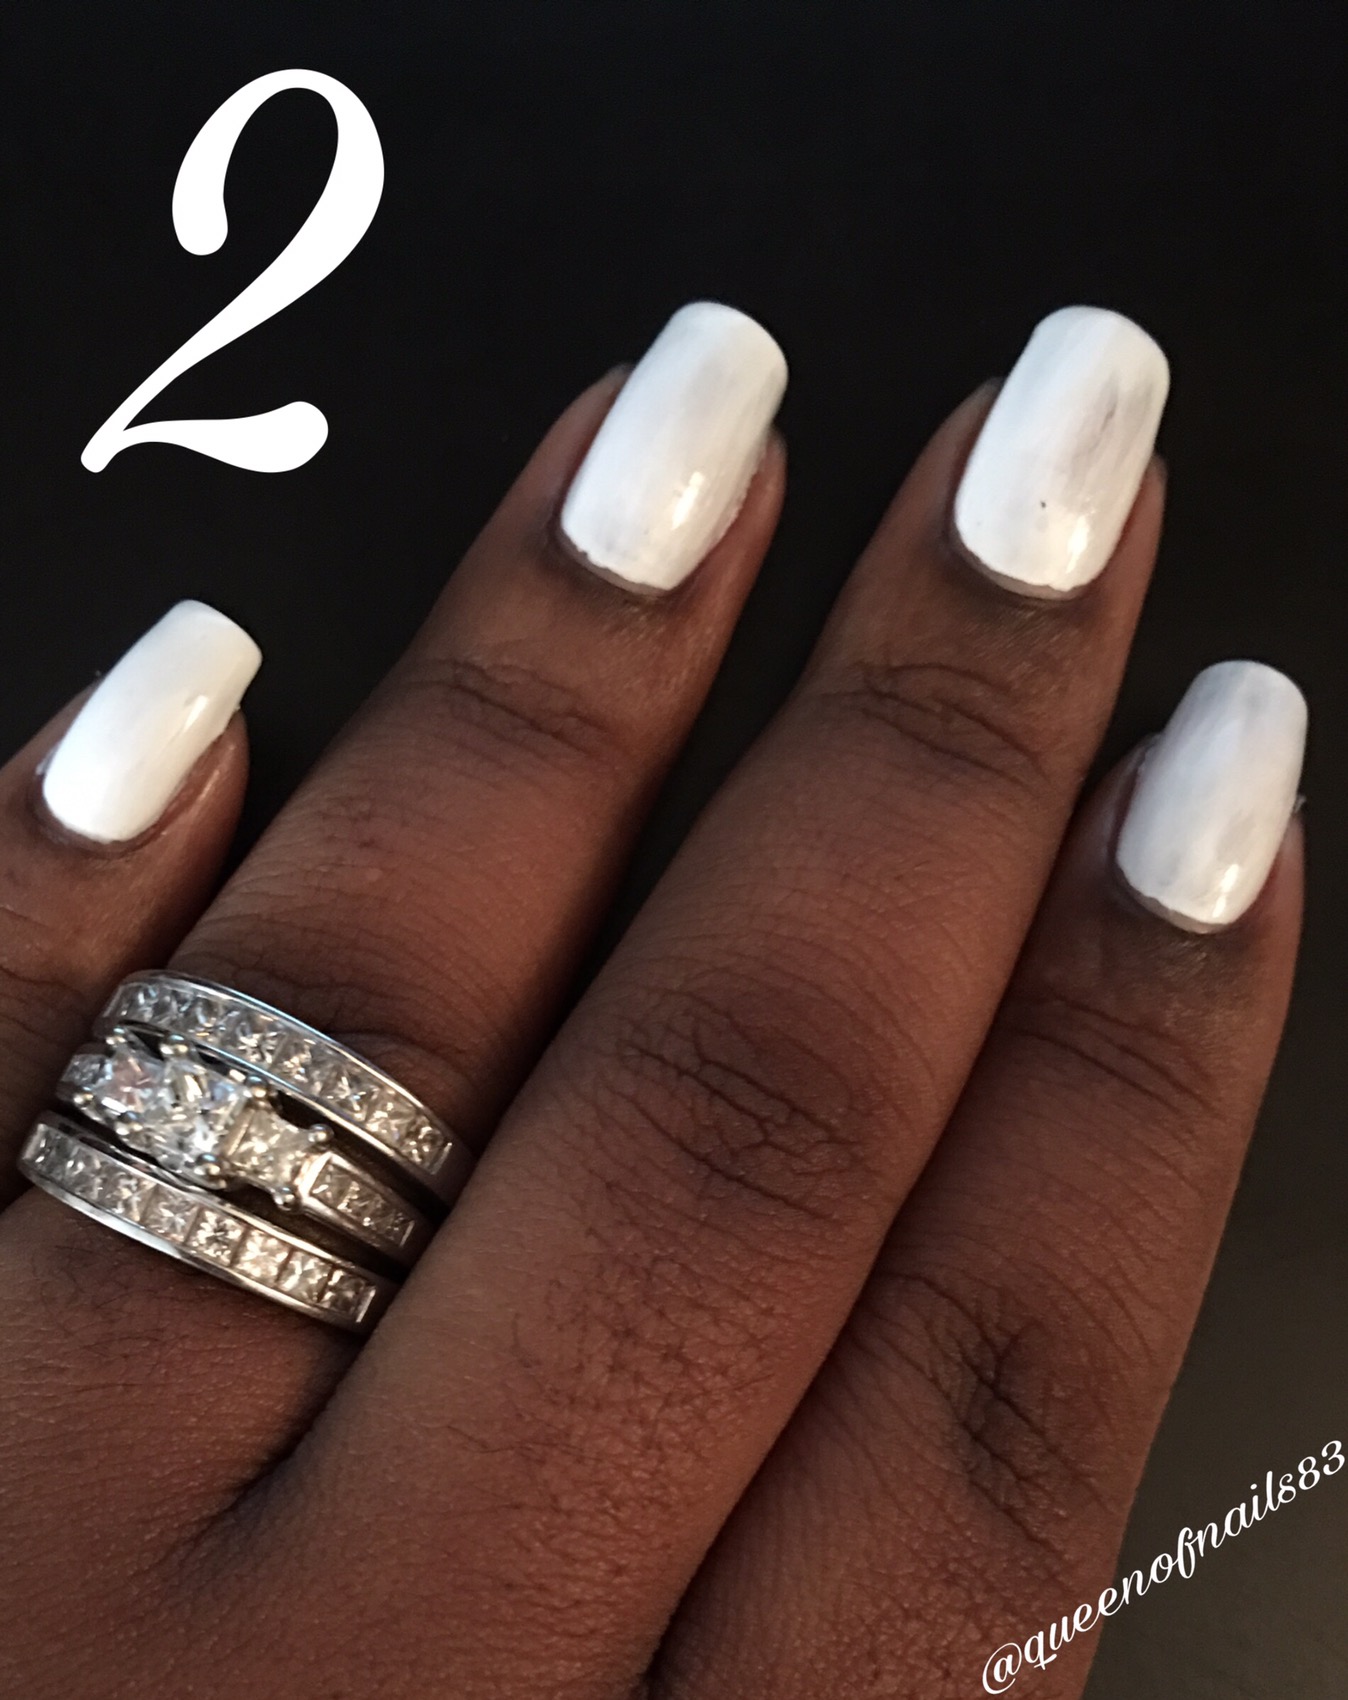
I then applied a coat of white undies because white undies give all polishes an added ‘POP’.
For added protection I covered my cuticle area and about 2/3 of my finger in liquid latex.

While I waited for the latex to dry, I poured room temperature water into my dish and opened and arranged my polish in my preferred rainbow order.
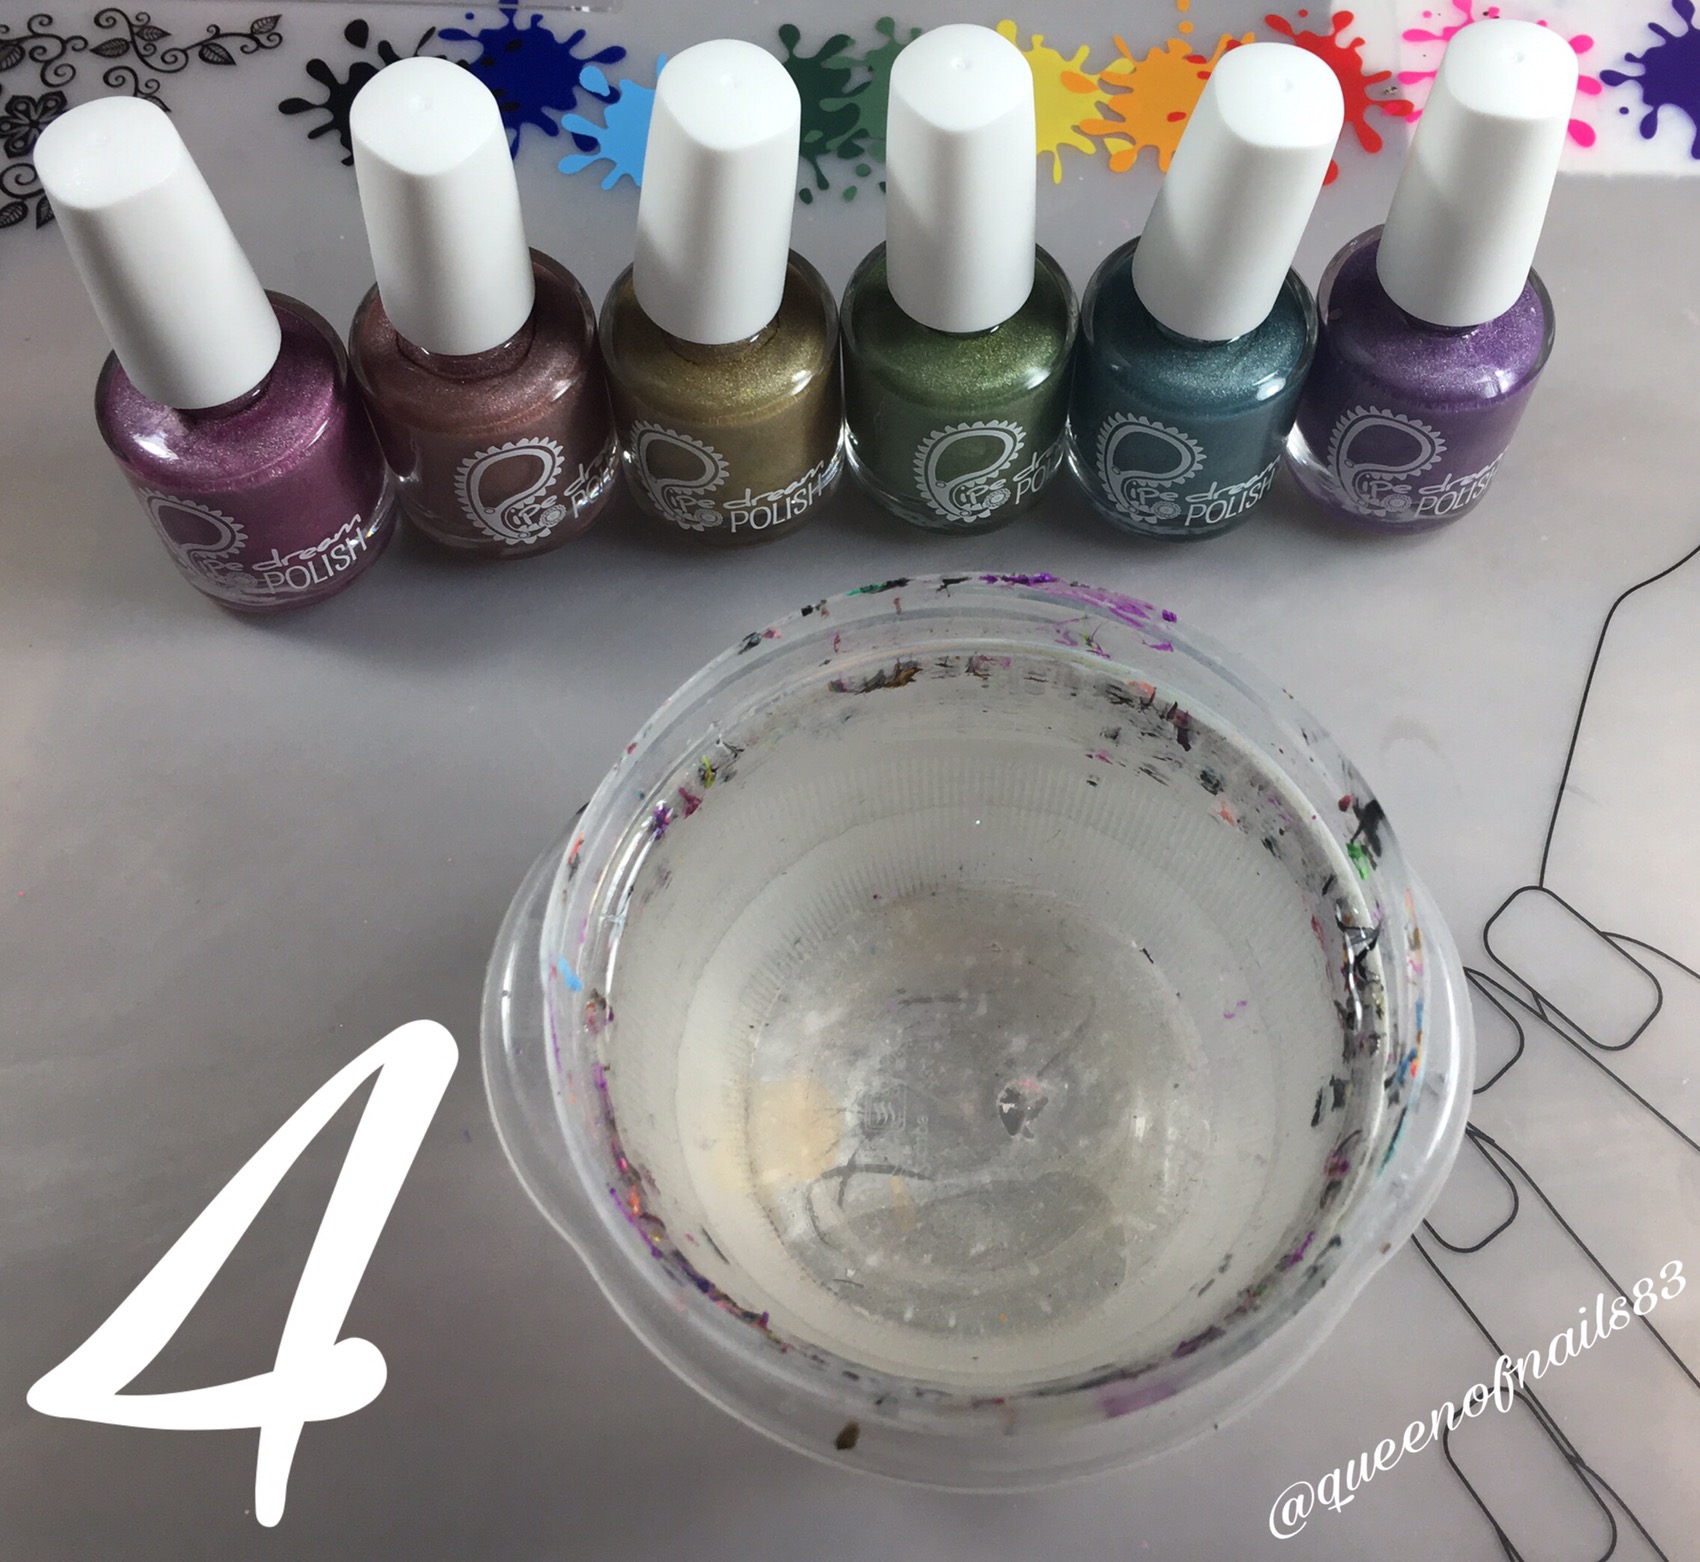
Here comes the fun part! One by one I added a drop of each polish and allowed them to spread. Once it was all said and done, I was able to get 3 passes of each polish in my dish.

Next, with my watermarble tool, I created a linear, or zigzag, pattern. I love this technique because you can create so many different looks.

This part can be a little tricky because there is so much that happens in this step. I found the area that I liked the best and placed my finger(s) in at a 90° angle. *Note* Leave your fingers in the water until you have cleared the remaining polish. To do this, blow gently on the surface of the water and use a q-tip to remove it.
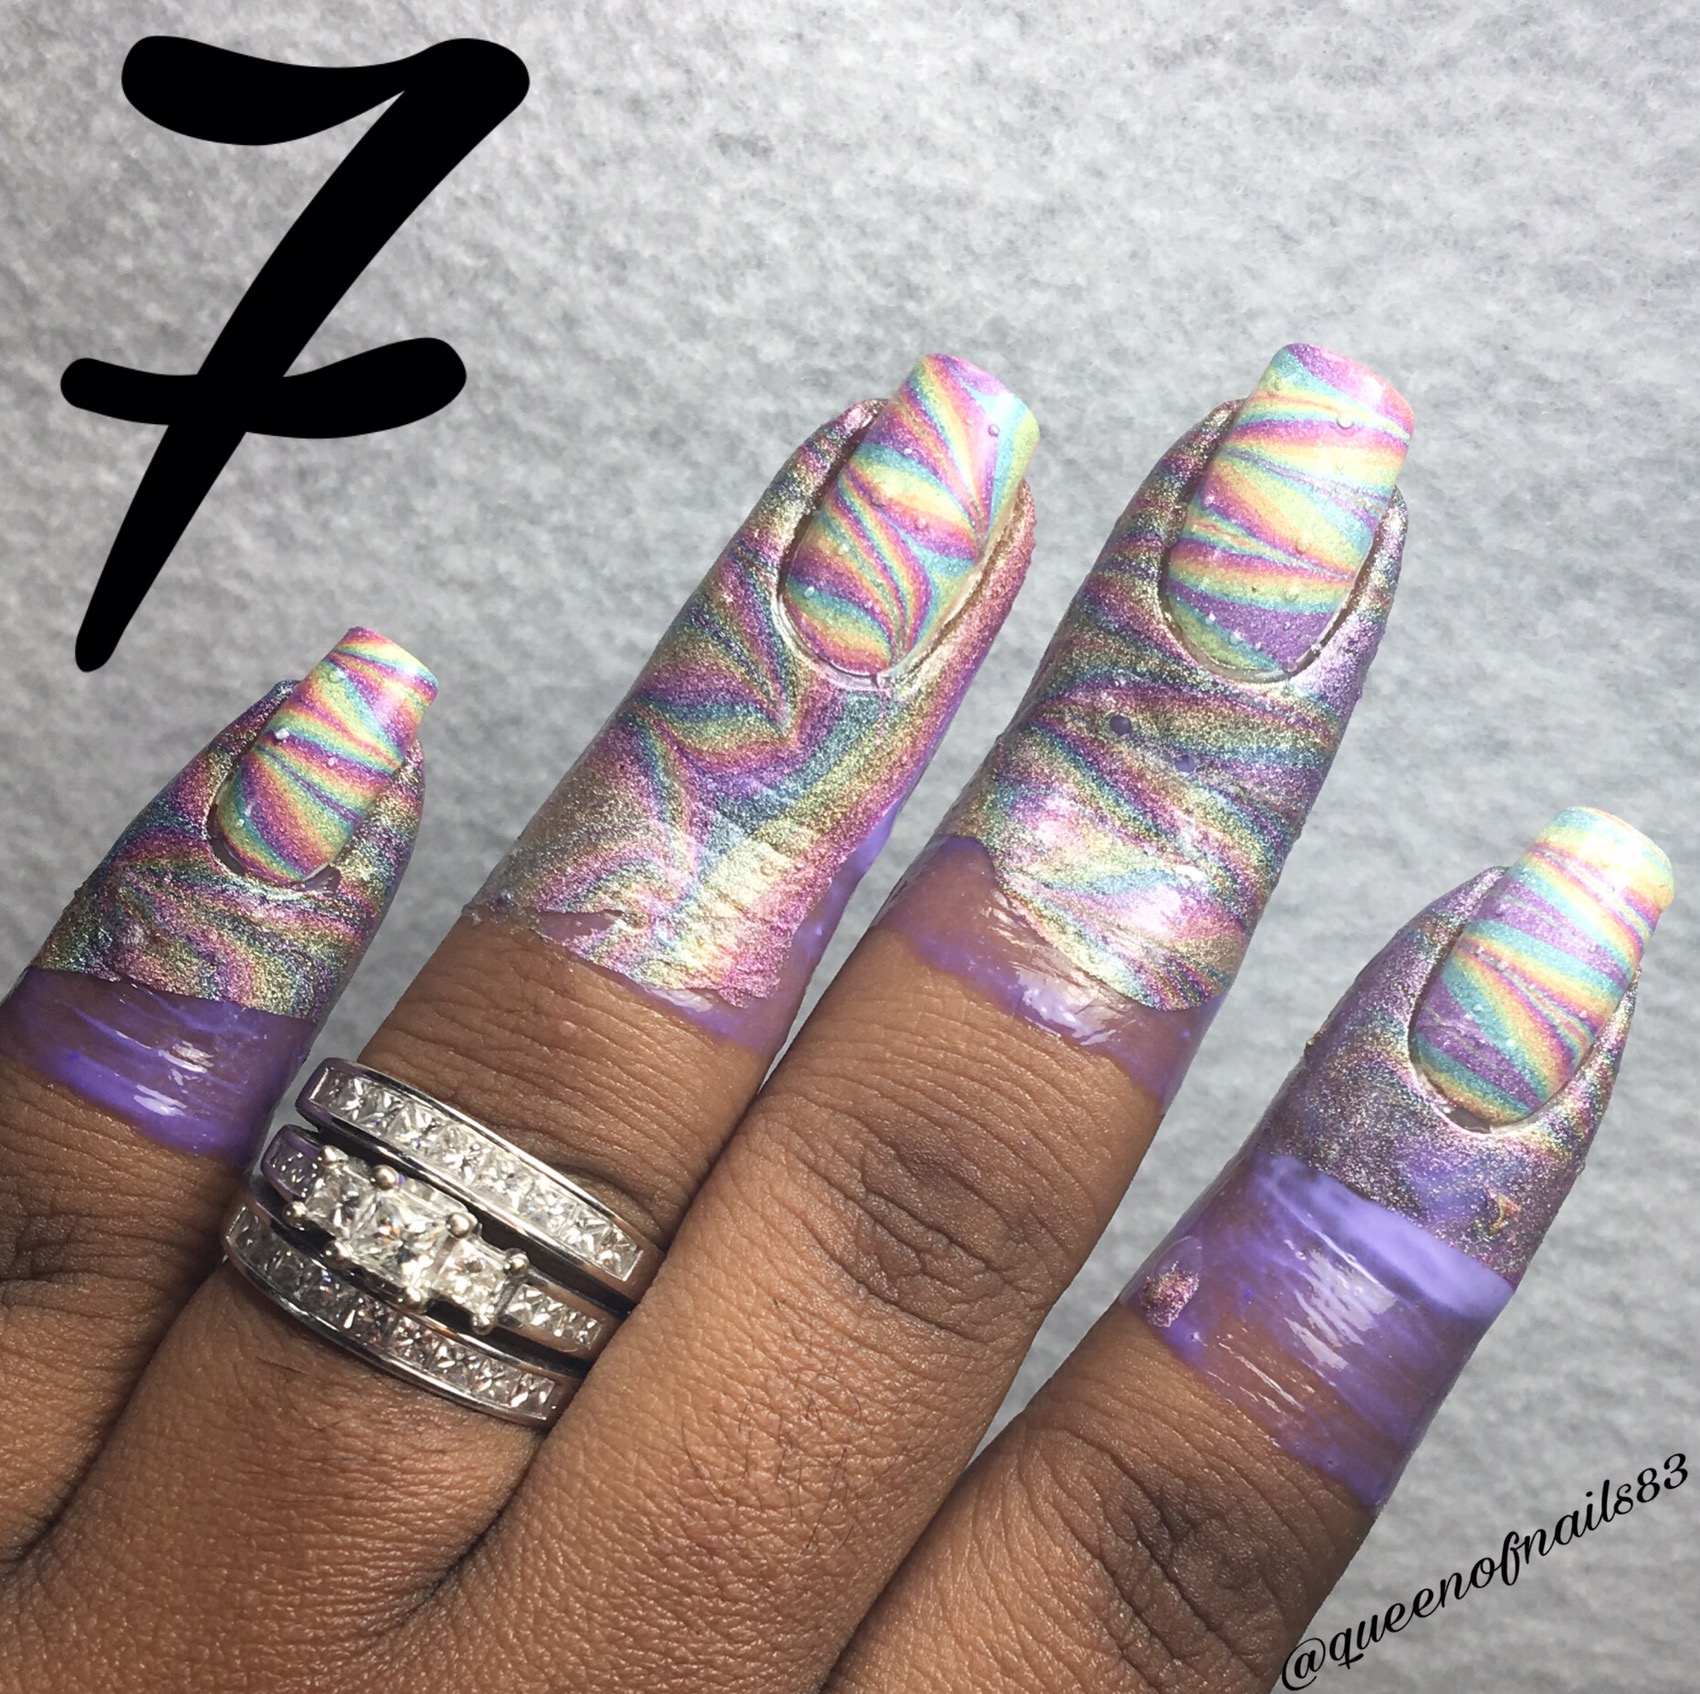
Finally, remove latex, clean up and add you favorite top coat to seal in your beautiful mani! In the end you’ll have a mani you’ll love ❤️!

In a few days you could always upcycle this mani by adding some stamping, vinyls, etc. to give your mani a new look. This is what to like to call upcycling.
Well that’s all the time I have here today! I hope you all enjoyed your time here as much as I did. Again, big shout out and thank you to Monica for inviting me to hang out in her little corner of the internet. I had a great time! I hope you all will join me over at Queen of Nails 83. Thanks for reading!!

I just wanted to develop a remark so as to thank you for all of the pleasant ideas you are sharing here. My rather long internet research has at the end been honored with incredibly good knowledge to write about with my close friends. I ‘d assert that we website visitors actually are rather fortunate to be in a fine community with very many lovely people with beneficial points. I feel rather happy to have encountered your web site and look forward to many more awesome times reading here. Thanks a lot again for all the details.