How to make your own Jelly polish
Have you seen those pretty jelly polish manis online? I have!! And absolutely love them! Which is why I headed over to my local pharmacy to pick up some jelly polishes. But I had no idea how to identify them!! Came up feeling sad because I was not able to get any and then one of the ladies from a nail group I belong to suggested I make my own! So I said.. Hey why the heck not? When I actually sat down to do them I couldn´t believe I actually ever had the intention of buying them!! They were so easy to make!
Here´s what you´ll need to make your own jelly polish:
– Clear top coat (preferably fast drying that way your nails will dry faster, jelly manis usually need a lot of coats)
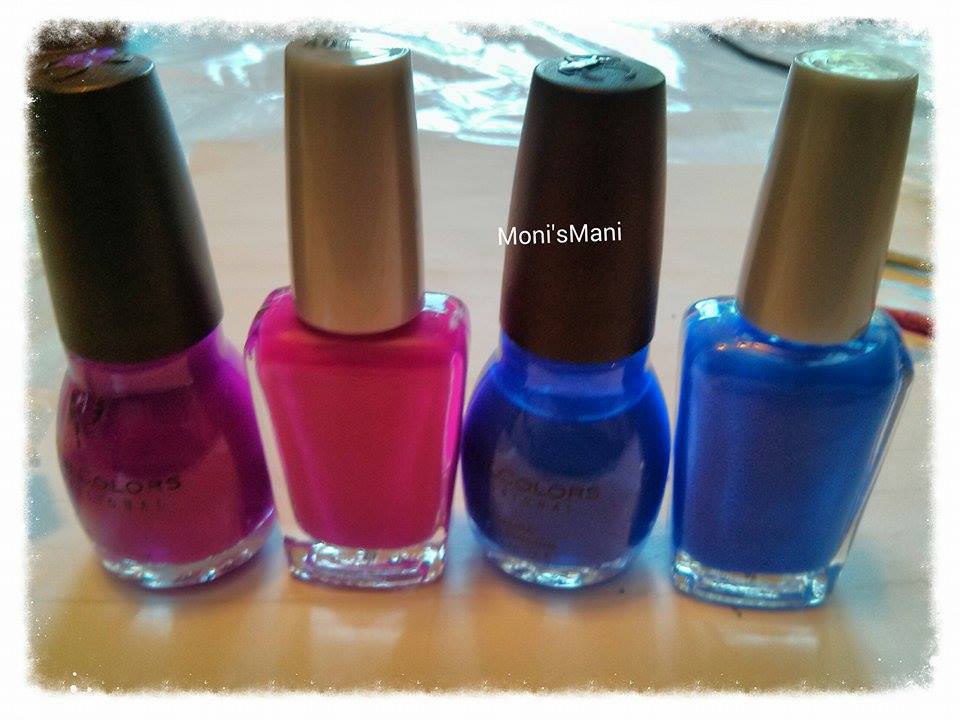
– Polish (from your own stash, just pick one and go!)
– A thin stick for mixing, I used an orange stick
– About 15 minutes per bottle
– One naked hand or swatch sticks
What to do:
– The first thing I did was get rid of all labels from my clear bottle in order to see the inside better and see if I was mixing correctly
– Then I took my colored polish and started adding drops of polish to the top coat. I checked color every few drops, but didn´t notice any real pigmentation until about the 10th drop. So I’d add the first ten drops and check then.

– After the first drops are added, use your mixing stick to mix. Cover with the polish cap and roll in your hands to finish mixing correctly.

– When do you know you´re on the right track? When the clear polish brush comes out with colored polish. At this point I would test it on naked nails and start adding and mixing the last drops.
** For the purple one I actually did little pours of polish instead of drops and I would NOT recommend it.. It´s very easy to mess up like this since you can´t control opacity and then you´d have to empty out and add more clear and so on.. big unnecessary mess. Just be patient!!**
This is the first time I ever do anything of this sort and I have to say it was very easy! I suggest you try it and add your own touches and let me know if you have any tips to add.
I LOVED the final result, here are a couple of pics of 2 coats of each jelly on bare hands and then on top of white. I´ll be definitely doing more soon.


Thanx for reading!!
****Como hacer vuestro propio esmalte Jelly****
Habéis visto manis hechos con esmaltes Jelly en internet? estos son los esmaltes que son un poco como gelatinosos, digamos que mas “aguados” k los de crema. Bueno.. A mi estos manis me tienen enamoradica.. Con que ni corta ni perezosa me fui a la farmacia en busca de estos esmaltes pero al llegar ahí me di cuenta que no tenía idea de cómo diferenciarlos en botella, con que volví a casa triste y con las manos vacías.. Fue entonces cuando una chica de uno de los muchos grupos uñiles a los que pertenezco me recomendó que los haga yo misma.. y dije yo. porque no?!!! y os digo de verdad, que no hay cosa más fácil!! y que tonta fui al buscarlos ya hechos cuando son tan fáciles de hacer!
Aquí esta lo que necesitáis:
– Top coat (preferiblemente de los que secan rápido. los manis de Jelly necesitan muchas capas y el secado rápido vendrá muy bien)
– Esmalte de tu colección
– Un palillo fino para mezclar. yo use un palito de naranjo
– Alrededor de 15min por botella
– Uñitas desnudas o de acrílico para probar opacidad
Qué hacer?
– Lo primero que hice yo fue quitar todas las pegatinas de la botella de top para poder ver bien el liquido de adentro y asegurarme k estaba mezclando bien
– Empezar a añadir gotas del esmalte deseado. yo revise el color cada pocas gotas pero realmente no vi ninguna pigmentación hasta la decima gota. así que yo añadiría las primeras 10 gotas y luego haría mi primera revisión de color
– Después de añadir las gotas, usa el palillo para mezclar (así como veis en la foto). luego tapar y rodar en la palma de la mano para terminar de mezclar
– Como sabes que estás cerca? cuando después de mezclar sacas la brocha de la botella y ves liquido pigmentado (uniforme) en la brocha. en este momento puedes empezar a probar opacidad en las uñas y añadir más esmalte poco a poco hasta k logres la opacidad deseada.
**Para el morado añadí el esmalte de botella en botella con pequeños chorros, esto NO lo aconsejo ya que es muy fácil pasarse. si te pasas tendrías que vaciar un poco del Jelly y añadir esmalte transparente y vamos… es un engorro innecesario. Se paciente y hazlo con gotas!**
Esta es mi primera vez haciendo algo así, con que si tu sabes un método mejor o tienes consejos.. por favor no dudes en compartirlos!
A mí me encanto el resultado final. aquí tenéis fotos de 2 capas de cada Jelly en uñas desnudas y sobre esmalte blanco. Voy a hacer más próximamente!
Gracias por leer!!
They are really nice honey.
I like it because you can do it exactly as you want.
I like the blue a lot, i thinnk it turned oout better.
Do you think you can do it eith yellow too?
Btw. You know i tried my own…and i was really socked to see it needed a lot of drops of polish. At first drop i thought it will be too strong…but i changed my opinion very fast :))))
Good post hun, very useful.
Kisses
Thanx darling!! Yes it does need a lot of polish. I will try doing yellow, orange and black next. I’ll post pics!
What a great idea, I will need to try this myself!
Do it!! And let me know!!
What a great idea.. maybe I’ll try it too :))
Yes hon! Def give it a try!
Estan genial..!! Tambien es comodo hacer esto solo por pequeñas cantidades, poner en un platito esmalte transparente y añadir color pero solo hacer la cantidad justa para una manicura. La verdad que estos esmaltes para ciertas manicuras viene muy bien. Besossssss
Uhhhh bueniisima idea cielo!!